Tag Like a Pro
Using a TAGGING GUN is the fastest way to attach tags to clothing and accessories for the JBF sale.
BUT, it's important to use your tagging gun CORRECTLY to prevent damage to your items.

Using a Tagging Gun
Many JBF Sellers find it much faster to attach JBF tags to items using a tagging gun instead of safety pins. You can purchase a tagging gun with fasteners for $10-15 online. We like THIS ONE with THESE FASTENERS. Amazon offers great choices as well.

Attach to the Garment's Tag
If the clothing has a garment tag at the neckline, always puncture the garment tag when attaching your JBF tag.

Attach to an Inside Seam
If the clothing does NOT have a garment tag at the neckline, puncture the inside seam when attaching your JBF tag

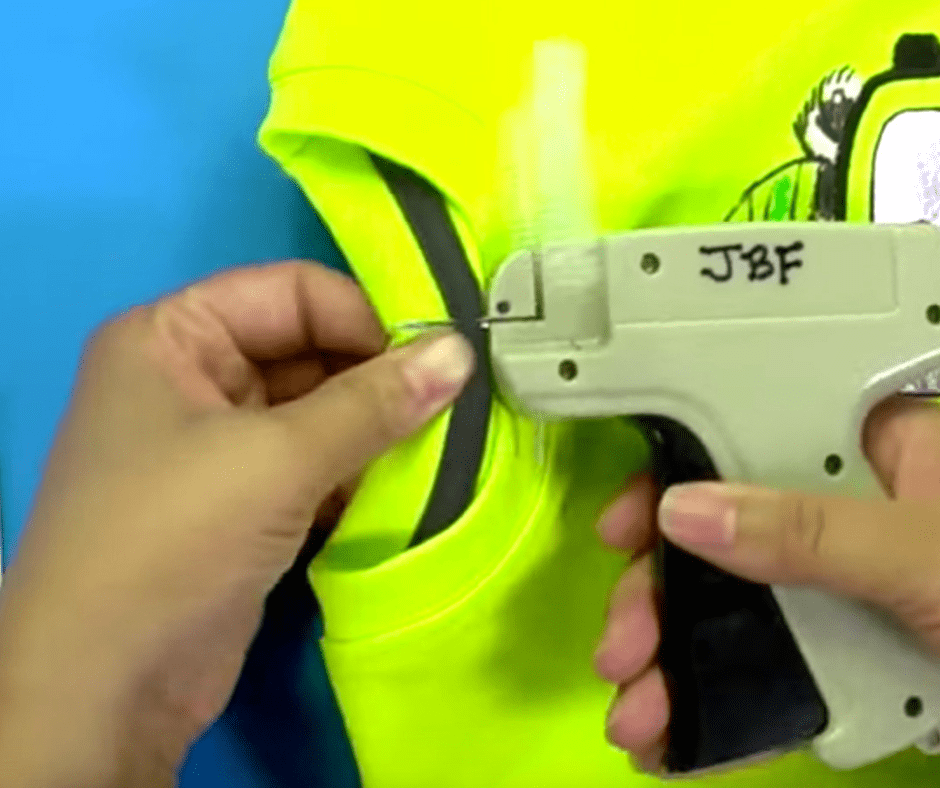
Attach to an Armpit Seam
If the clothing does NOT have a garment tag OR an inside seam at the neckline, puncture the item's armpit seam when attaching your JBF tag. THIS IS IMPORTANT: when looking at the FRONT of the item, the tag should hang from the RIGHT armpit (so that your tag is closest to the shopper when the item is hung up).

Attach to Sturdy Waistline
When tagging pants that do NOT have a garment tag at the waistline, you may puncture through a sturdy waistline to attach your JBF tag. For leggings and skirts, be sure that the waistline is reinforced with elastic before puncturing. If the item does not have a sturdy waistline, please puncture through an inside seam instead.
What Not to Do

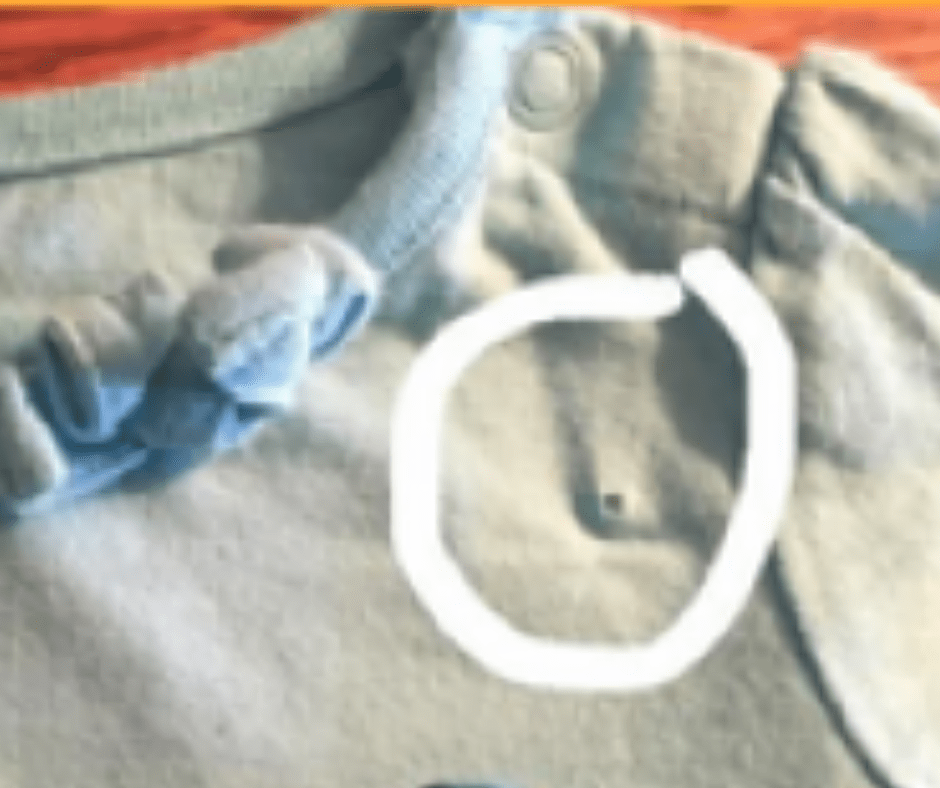
Do Not Puncture Directly Through Fabric
Shoppers will not purchase items that have been punctured directly through the fabric. Please do not stab your tagging gun (or safety pins) through the middle of a clothing item. Only attach JBF tags to garment tags, inside seams, armpit seams, or sturdy waistlines.

